Description
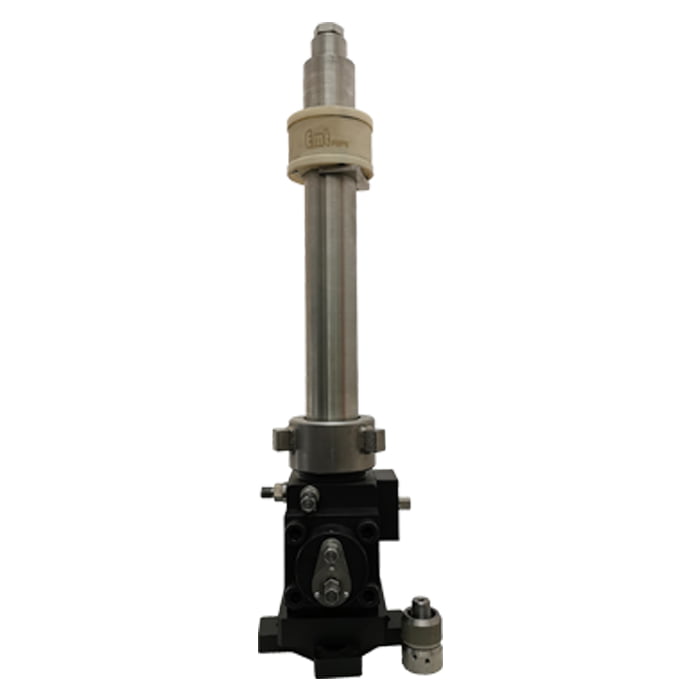
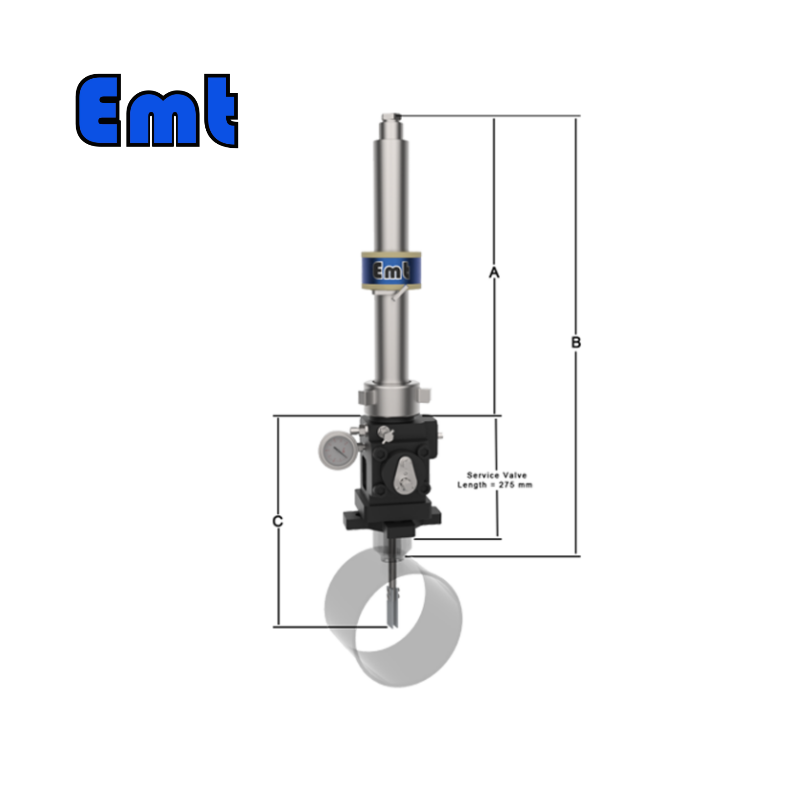
Definition of the retrieval tool

Code for use of corrosion hanging piece replacement tools
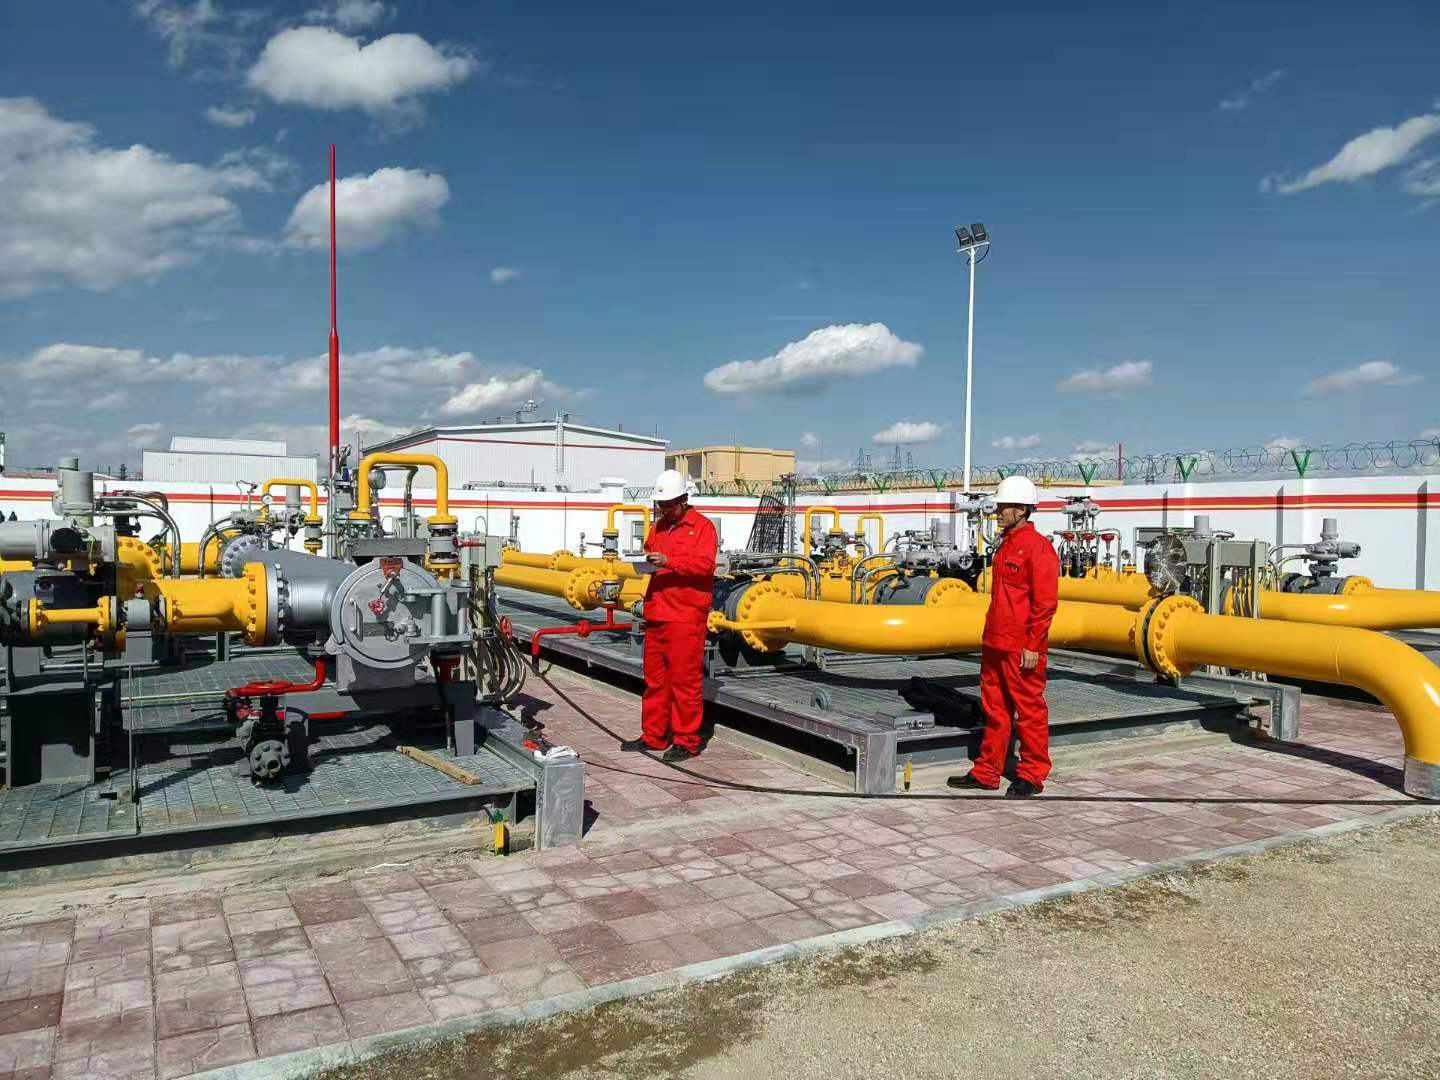
Replacement of corrosion hangers/probes on site.
Scope
Replacement of the 2 “plug connector/probe assembly on the pressure line from 0 to 3600psi.
Operation procedure
Base preparation:
Clean the new hanging piece with anhydrous alcohol or petroleum ether, dry it until the hanging piece is of constant weight and record, and measure its length, width, and height with a vernier caliper, 3 times on each side.
Check that everything in the toolbox is complete. The contents in the toolbox should include a set of 1/16 inch to 1/4 inch hex sockets, an adjustable wrench, butter, grease, etc. Then, perform a pressure test on the corrosion hanging plate disassembly tool. Only after the pressure test meets the requirements can the tool be shipped to the site.
The equipment is heavy, so the personnel should coordinate their movements and pay attention to safety when handling and disembarking the vehicle.

Site preparation work:
1 Install the insulation gaskets for corrosion hanging plates into the round hole, wrap two pieces in a group with soft paper, and put them into the bag that records the previous installation of corrosion hanging plates or the bag marked with relevant marks.
Prepare waste oil drum, diesel oil, butter, rags, rope, safety tape, meal paper, etc.
Wear special work clothes, insulation shoes, protective gloves, and other labor protection articles that meet professional protection requirements.
Apply for a “Thermal Working License” or “Cold Working License” to ensure the smooth disassembly and installation of corrosion hanging pieces and the layout of the corrosion state of hanging pieces on site.
Operation procedures for taking and hanging pieces
Unscrew the outer cover of the test port.
Unscrew the stainless steel wire plug of the hanging piece assembly.
Connect the supply valve to the test port and tighten the nut with a copper hammer.
Connect the mounting tool to the supply valve, and use a copper hammer to tighten the nut.
Close the drain valve and balance valve, and open the supply valve.
Slowly move the outer sleeve of the mounting tool forward so that the gun head of the mounting tool is in contact with the mounting assembly.
Slowly rotate 4 turns clockwise to install the mounting assembly of the mounting tool to the appropriate position.
Gently push the mounting tool jacket forward so that the female hexagon of the mounting tool “covers” the male hexagon of the mounting assembly.
Slowly rotate the outer sleeve of the working gun in the counterclockwise direction. At the same time, observe the pressure gauge of the working gun. If the pressure is too high, it must wait until the pressure is equal to or almost the field pressure before continuing to rotate.
After the pressure gauge is stable, unscrew the mounting component. About 15 turns in total.
Gently pull out the outer sleeve of the working gun to the finish line.
Close the supply valve.
Standing in the spotlight, the staff slowly open the exhaust valve and discharge the liquid and gas in the working gun chamber into the container.
Loosen the nut between the working gun and the working valve with a copper hammer.
Remove the mounting component.
The original corrosion state of the corrosion hanging pieces is photographed, and then the corrosion products on the corrosion hanging pieces are extracted and put into a sealed bag to prevent an oxidation reaction. The corrosion hanging pieces are coated with grease and put into a sealed bag, and then put into the related album for unified management.

Operating rules for mounting and hanging pieces
Install a new hanging piece on the hanging piece assembly.
Butter the hanging piece assembly.
Screw the hanging piece assembly into the working gun head, about 4 turns. The male hexagon of the mounting assembly can be fitted into the female hexagon of the working gun.
Connect the mounting tool to the handle supply valve, and use a copper hammer to tighten the nut.
Close the drain valve.
Open the balance valve slowly.
When the pressure gauge is stable, open the supply valve.
Slowly rotate the outer sleeve of the mounting tool forward so that the mounting assembly just touches the detection port.
Slowly turn the outer sleeve of the working gun in a clockwise direction and tighten the hanging piece assembly. About 15 turns.
The female hexagon of the working gun is detached from the male hexagon of the hanging piece assembly.
The staff shall stand on the stage and slowly open the exhaust valve to discharge the liquid and gas in the working gun chamber to the container.
If the pressure gauge returns to zero, turn it four times counterclockwise to separate the mounting tool from the mounting assembly.
Gently pull out the outer sleeve of the mounting tool to the endpoint.
Use a copper hammer to loosen the nut between the working gun and the working valve.
Unscrew the nut to remove the mounting tool from the supply valve.
Loosen the nut of the supply valve with a copper hammer.
Unscrew the nut to remove the supply valve from the test port.
Adjust the direction of the hanging piece clockwise with the wrench.
Butter the nut of the test port and the female buckle of the mounting assembly. Install the stainless steel “wire plug” and test the port outer cover for the mounting assembly.
retrieval tool


Reviews
There are no reviews yet.