Description
Welding instruction
Check the roundness of the pipe welded with a quick opening closure and avoid damage and defects.
Do not use mechanical systems to reduce the ovality of butt-welded tailpipes.
(This can increase stress or create a permanent deformation in the center during or after welding is completed).
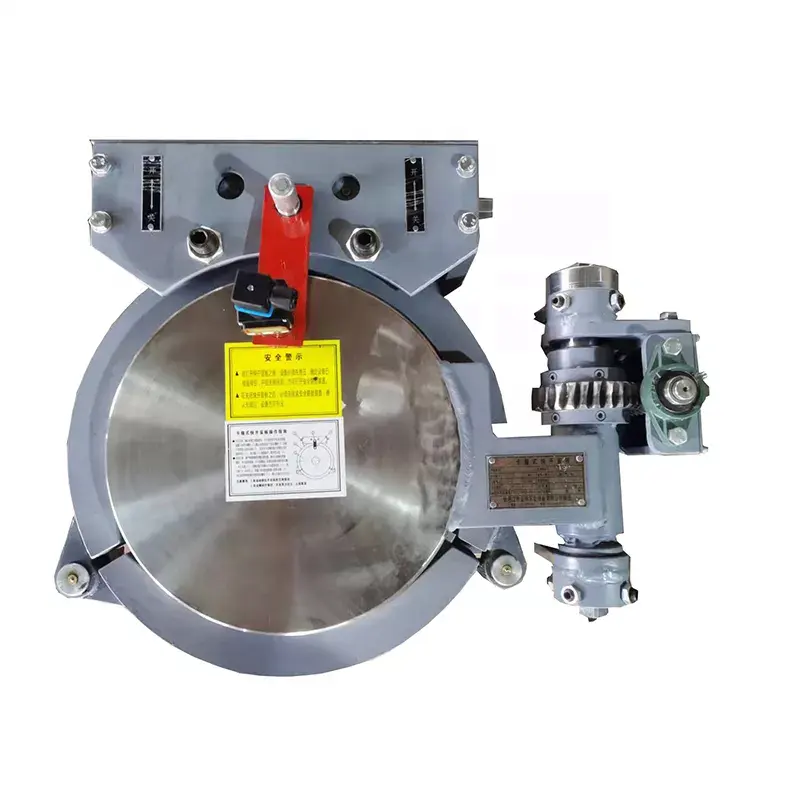
Open the quick opening closure。
Remove the hinge support nut, remove the blind plate and hinge with an appropriate hook, and place it in a clean area covered with cloth for protection.
Cover hinge support bolts and seal the area with a clean cloth for protection.
Make a sufficient number of marks on the vertical axis of the quick opening closure.
Perform welding operations.
Note: The temperature near the sealing surface should not be higher than 270℃ during welding.
Sand the internal welds. The sealing surface should be protected when polishing.
Reset the quick opening closure and hinge. Tighten the hinge bracket nut.
Close the quick opening closure plate
Spraying instructions
If the quick opening closure is not protected by basic spraying, the following steps are required:
It is not necessary to remove all the blind plates (only the doors) after the hydrostatic test.
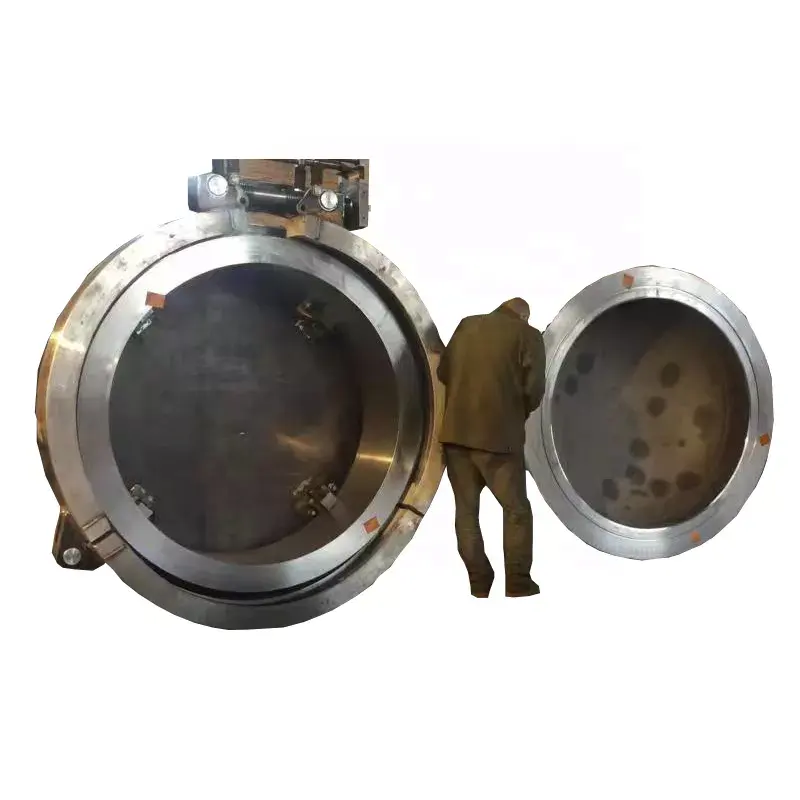
Open the quick opening closure.
Remove door shaft support bolts and remove the door with the appropriate hook
Place the door in a clean area
Carefully protect special areas on the door with clean cloth:
The outer diameter of the door includes a telescopic lock head (the inner surface of the door is not sprayed);
Rotate the handle;
The plant carefully protects special areas on the large flange with a clean cloth:
Sealed area;
All axial bolts;
Lubricating zone
Blast sand and air it carefully to make sure there is no sand.
Carry out spraying operation.
After spraying, carefully clean special areas or parts.
Reset the door with the appropriate hook.
Close the quick opening closure plate
Open the description
Read the instructions on the quick opening closure board carefully. All operations are carried out by trained personnel.
Using the wrong tools can cause irreparable damage to the security interlocking system. Never use a hammer to open the blind plate.
Unscrew the bolt by hand. If sound can be heard or oil is leaking, there is pressure in the cylinder. In this case, the pressure in the cylinder must be relieved. Empty screws cannot be used as pressure relief ports.
After the pressure in the cylinder is completely released, open the empty screws by hand.
Pull out the inner locking plate (the inner locking plate is attached to the door with a small chain).
Turn the handle counterclockwise.
Pull the door open.
Closing instructions
Careful closing correctly will make future opening operations easier to succeed.
Using the wrong tools can cause irreparable damage to the security interlocking system. Never use a hammer to open the blind plate.
Very carefully clean the seal ring and lubricate it with a light engine oil type oil. Using grease that is too thick can lead to leakage at low pressure.
Clean and lubricate the washer surface
Close the door (in operation, the door must first be placed on the horizontal large flange or perpendicular to the filter axis, and then push it in).
Turn the handle clockwise to insert the lock into the ring groove.
Clean, the drain bolt and check whether the hole of the drain bolt is blocked by dirt.
Put back the lock plate (so that the lock rod is inserted into the hole in the inner lock system).
Tighten the empty bolt by hand.
Don’t use a wrench to loosen bolts.
Maintenance and lubrication
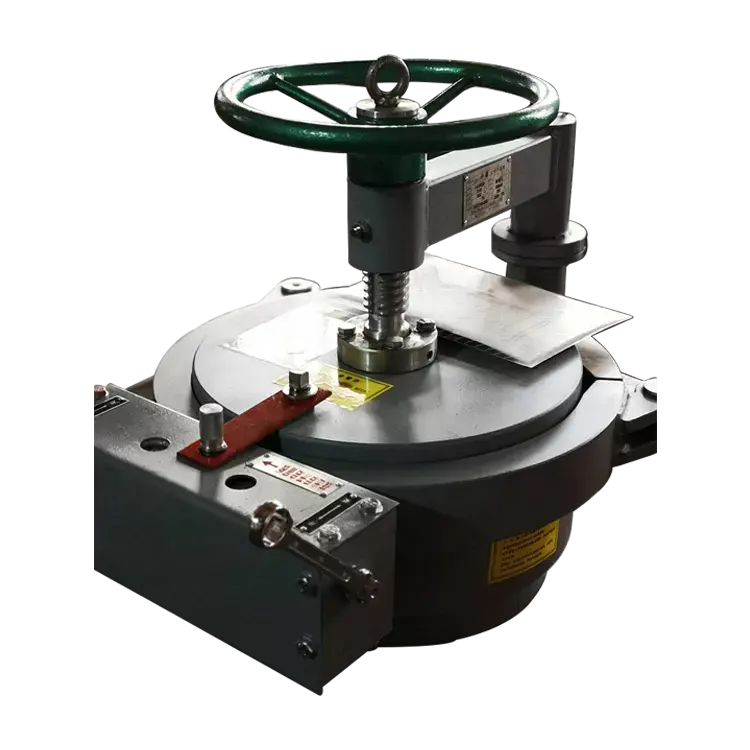
Lubrication operation includes:
Grease the hinge shaft with butter.
Lubricate the telescopic lock with oil.
Lubricate the rotating handle with oil and empty the bolts (alarm holes and ○’ rings).
Maintenance – Replace the seal ring
Carefully clean the seal ring and the ring groove in which the seal ring is placed.
Lubricate the entire ring and the ring groove in which the ring is placed with oil.
Place the sealing ring and the anti-extrusion spring, the reticule must be absolutely correct, and pull a ring by hand to make the sealing ring and the groove wall close. If there is any dirt or particles on the surface of the sealing ring and the ring groove where the sealing ring is placed, the sealing will be affected.
Common faults and solutions
Seal leak at low pressure.
Open the door, remove the U-seal, and clean the ring groove of the U-seal and large flange.
Seal leaks at low or high pressure.
Open the door, remove the seal, and clean and sand the damaged sealing surface carefully.
Leak under high pressure.
Open the door and adjust the door to the correct position.
Safety instructions
Quick opening closure plate must be operated by trained personnel.
Empty screws cannot be used as pressure relief ports.
Regular maintenance is required to keep the switch flexible
When switching, do not use the hammer and other tools.
The blind plate should not be opened until it is welded to the container
Read the instructions on the quick opening closure board carefully. All operations are carried out by trained personnel!!
Special instructions for opening and closing doors:
When you open the door, first pull the bar and handle so that the door comes out along the axis of the receiver barrel (radial motion), then pull the bar to make the door open wider, but at the same time, you turn the door, looking at the hinge, while pulling the bar, pushing or pulling the handle to make the door turn, so that the door does not hit the hinge retaining screws Until the door is as open as you want it to be and hold it there. Don’t pull the lever without looking at the position of the door and hinges.
It’s the same when you close the door, first, you push the rod and the handle to make the door open less, but at the same time you look at the hinge and push the rod while you push or pull the handle to make the door turn so that the door doesn’t hit the hinge holding screws Until the door has reached a certain opening and the door is parallel to the flange face or perpendicular to the axis of the receiving cylinder, you can push the door into the flange (radial motion), then turn the ring lock handle to lock the lock block into the ring groove of the flange.
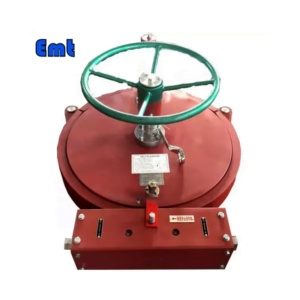
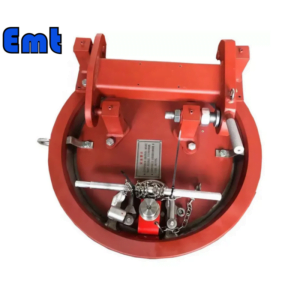
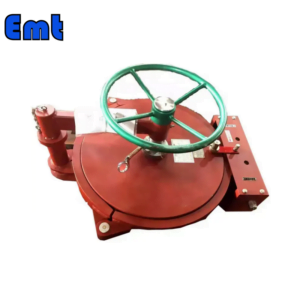
quick opening closure

Reviews
There are no reviews yet.